In the web development world, several web application frameworks are required in the development of a website, that is, the backend aspect, some of which include – Angular, Django, React, Vue.js, Laravel, Expressjs, and many others.
However, these web development frameworks require a tool to store, manage, and manipulate databases that are imputed into the website. These operations are not visible to end users but to the developers, which is why they are referred to as the backend/UX of the website. Examples of web development databases include MongoDB, Redis, Microsoft SQL Server, SQLite, etc. However, this article will focus on the installation of Laravel with SQLite.
Laravel, which is the focus of this article, is a web application framework with expressive, elegant syntax. Laravel is also used to build robust, full-stack applications in PHP. It was developed by Taylor Otwell in 2011. SQLite is a lightweight, open-source, Relational Database Management System (RDBMS) that is used to store data in a single file on a hard drive. It also allows users to interact with a database by storing structured data like numbers or text in a file.
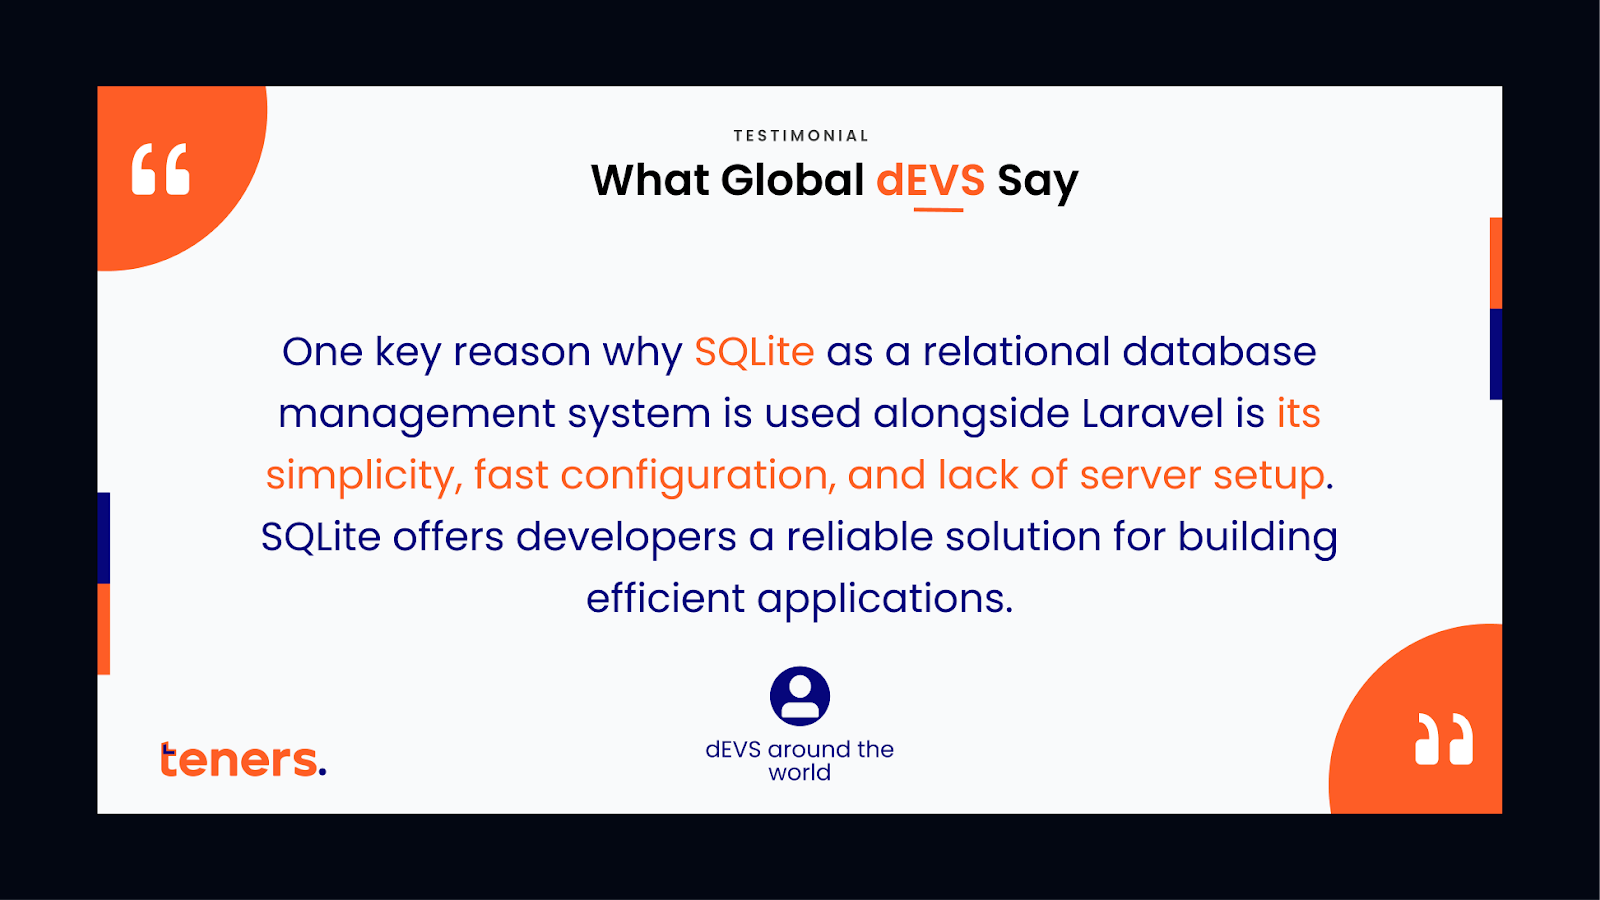
One key reason why SQLite as a relational database management system is used alongside Laravel is its simplicity, fast configuration, and lack of server setup. SQLite offers developers a reliable solution for building efficient applications.
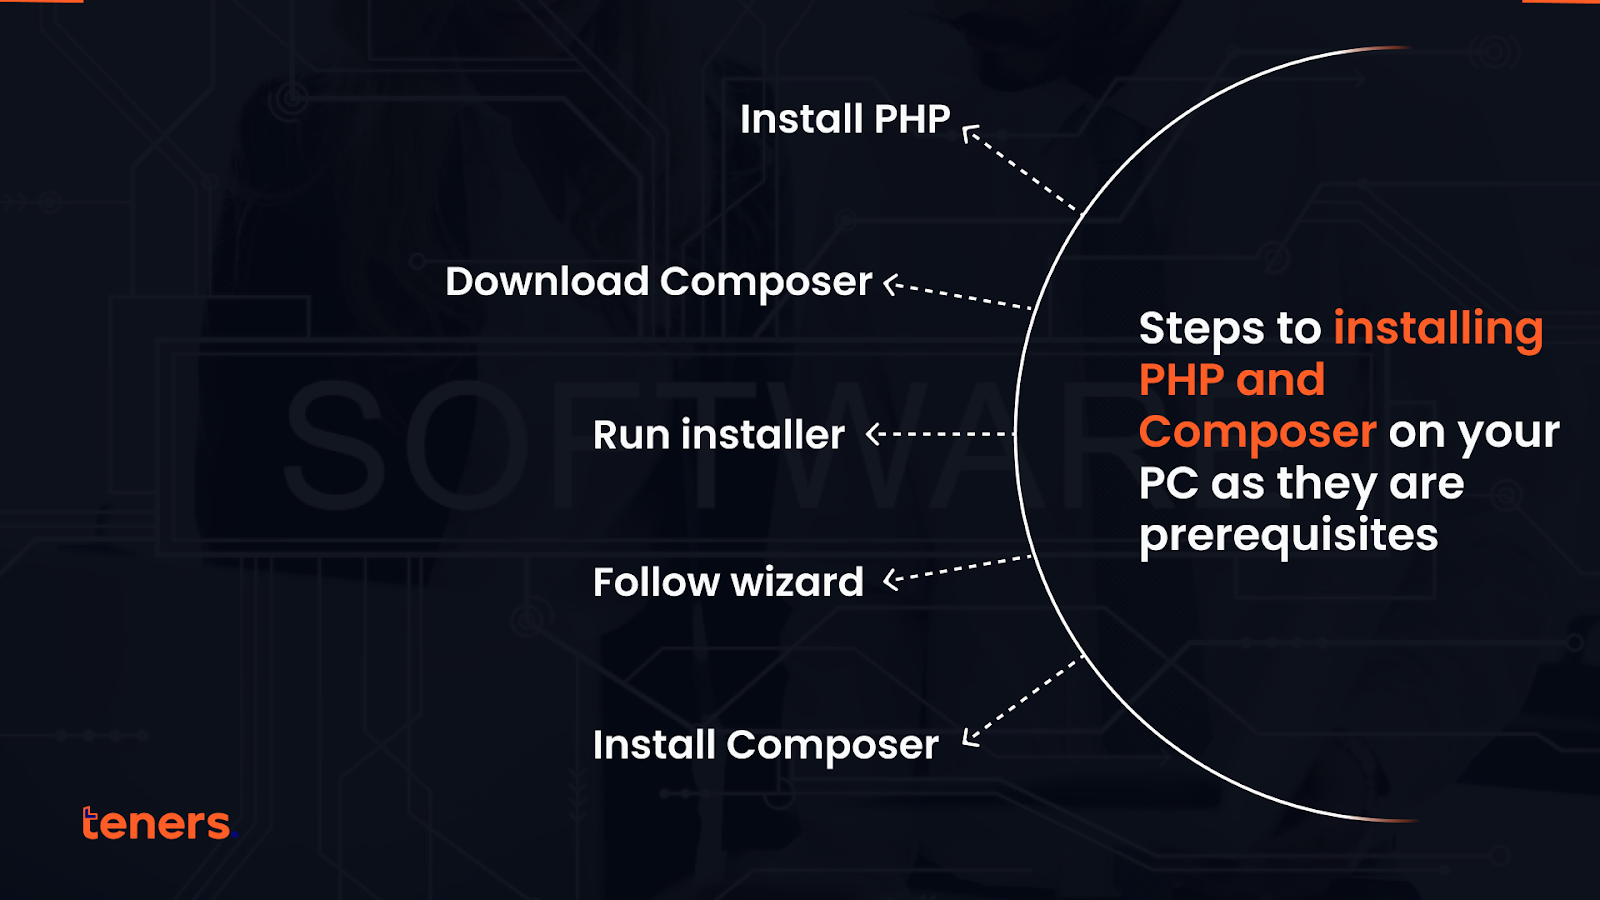
What, then, are the steps to installing PHP and Composer on your PC as they are prerequisites?
- Install PHP. You can use XAMPP, a free and open-source web server solution package.
- Download the latest version of Composer from the Composer website.
- Run the Composer installer:
- Double-click the downloaded Composer-Setup.exe file
- Follow the installation wizard
- Choose the installation location and other preferences
- Select Install
Then verify the installation:
- Open Command Prompt or PowerShell
- Type composer -version
The Composer version number should be printed on the console
The latest version of Composer requires PHP 7.2.5 to run.
Once this condition is met, Composer will need to manage dependencies. This is done by;
- Package installation: Composer can install Laravel and its core components, as well as other packages and extensions.
- Autoloading: Composer generates an autoloader for the project, which makes it easier to load classes.
- Version control: Developers can specify version constraints for packages in the project’s composer.json file.
- Package updates: Composers can easily update packages to their latest compatible versions.
- Project configuration: Developers can use composer.json to define project-specific settings, such as the project name, description, authors, and licenses.
- Script execution: Developers can define custom scripts in the composer.json file to automate tasks like migrations, cache clearing, and custom command executions.
Once Composer downloads the dependencies’ files, it places them in the vendor directory in the project. The vendor directory is the standard location for all third-party code in a project.
To install Laravel using Composer, note that Composer Global requires “Laravel/installer”
composer create-project laravel/laravel (after running this command, a folder having the name Laravel will be created there)
Now go inside the Laravel folder and run the php artisan serve command.
Installing SQLite on Windows
Step 1: Download SQLite: Visit the official SQLite website and download the Windows binaries.
How to extract and place SQLite in a preferred directory:
First, open the SQLite database file with the sqlite3 command:
sqlite DATABASE_FILE.sqlite. Next, set the output so that command results are sent to a file instead of displayed:
.output schema.sql. Finally, output the schema by typing:
.schema. …
.output.
Step 2: Adding SQLite to the System Path
Explanation of setting up the environment variable to access SQLite from the command line;
- To set up the environment variable to access SQLite from the command line, you can add the SQLite directory to your system’s PATH environment variable:
- Unzip the downloaded SQLite file into a directory, such as C:\sqlite
- Right-click on the This PC or My Computer icon on your desktop
- Select Properties
- Click Advanced System Settings
- Click Environment Variables
- Under System Variables, find the Path variable and click Edit
- Add the C:\sqlite directory to the list of paths separated by a semicolon
Checking if SQLite is installed properly by running sqlite3 in the command prompt.
Setting Up Laravel Project
Step 1: Creating a New Laravel Project
Using Composer to create a new Laravel project:
bash
composer create-project –prefer-dist laravel/laravel sqlite-laravel-app
Step 2: Navigate to Project Directory
Open the project directory and ensure everything is set up.
Configuring Laravel to Use SQLite
Step 1: Setting up the .env File
Modify the .env file to configure the database connection:
bash.
DB_CONNECTION=sqlite
DB_DATABASE=/full/path/to/database/database.sqlite
Mention creating a database.sqlite file inside the database folder of your Laravel project.
Step 2: Creating the SQLite Database File
Use the command to create the SQLite database:
bash
touch database/database.sqlite
Explanation on how to check the connection in Laravel’s config/database.php.
Running Laravel Migrations
Step 1: Migrating Database Tables
Run the migration command to create default Laravel tables in SQLite:
bash
php artisan migrate
Step 2: Checking Tables in SQLite
Use an SQLite browser (like DB Browser for SQLite) to inspect tables and verify migration success.
Testing Laravel Application with SQLite
Step 1: Running Laravel Development Server
Start the Laravel server and access the application on the local host:
bash
Copy code
php artisan serve
Step 2: Testing CRUD Operations
Test database operations (like creating, reading, updating, and deleting) to ensure SQLite is working seamlessly with Laravel.
The summary of the process to install SQLite in Laravel includes;
- Install PHP and Composer on Windows
- Download SQLite
- Adding SQLite to System Path
- Setting Up Laravel Project
- Configuring Laravel to Use SQLite
- Running Laravel Migrations
- Testing Laravel Application with SQLite
In conclusion, Integrating SQLite with Laravel offers developers a strong set of tools for building web applications. SQLite’s straightforward nature, paired with Laravel’s seamless compatibility, makes for an efficient development process. Whether for small projects or larger ones, this combination allows developers to take advantage of easy setup and the capabilities of Eloquent, maximizing the potential of this powerful pairing in web development.
As reiterated in previous articles, the importance of community must be considered, especially in the tech space. Every expert programmer you admire started by learning to build simple programs. Here at Teners.net, we connect people who are interested in learning programming from scratch, ensuring that personalized tutorship is our priority. If you want to know more, reach out to us and other enthusiastic programmers who are learning in our academy at Teners.net.
